Are you planning to install a range hood but unsure how to properly vent it through your roof? Venting a range hood correctly is essential for maintaining good air quality and preventing issues like moisture buildup, mould, and lingering cooking odours.
A roof-vented range hood effectively removes smoke, steam, grease, and heat from your kitchen, directing it safely outside. This is especially useful in homes where wall venting isn’t feasible or where optimal airflow is required.
In this blog, we’ll explain how to vent a range hood through a roof, the entire process step-by-step and discuss best materials and practices to ensure a safe, efficient, and long-lasting installation.
What You Need To Know About Venting A Range Hood Through The Roof?
Venting a range hood through the roof is one of the most effective ways to remove smoke, steam, grease, and odours from your kitchen. Unlike recirculating hoods that filter and push air back into the room, roof-vented systems expel air completely outside, improving indoor air quality and reducing moisture buildup. However, this process involves more than just running a duct upward.
You need to consider the correct duct size, the shortest possible route, suitable materials, and proper insulation to prevent condensation in colder weather. Additionally, the roof cap must be installed securely to keep out rain and pests. Compliance with Irish building codes is also essential. A well-planned and properly executed venting system ensures long-term efficiency, safety, and comfort in your kitchen.
How to Vent a Range Hood Through a Roof?
Venting a range hood through the roof requires careful planning and precise execution. This method ensures maximum efficiency by directing airborne contaminants straight outside, which is especially important in kitchens with high levels of heat and moisture.
Here is a step-by-step breakdown to help you understand the key stages of the process.
Evaluate the Range Hood Location
Before any installation begins, it's essential to assess where the range hood will be placed. Ideally, the range hood should be installed directly above the cooking area and as close to the centre of the kitchen as possible.
This position helps optimise airflow and prevents long, inefficient duct runs. You should also consider the layout of the upper floors or attic space to determine the straightest and shortest route to the roof. Avoiding unnecessary bends in the ductwork reduces airflow resistance and enhances performance.
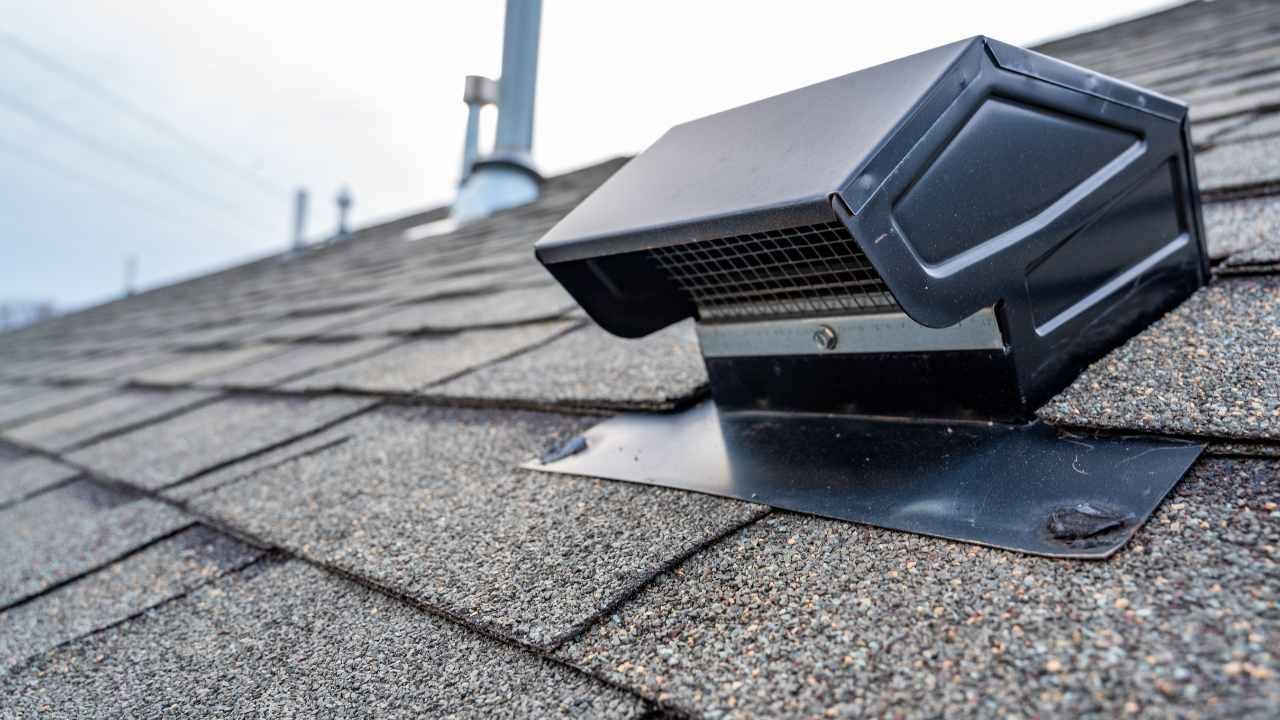
Select the Right Vent Cap
The roof vent cap is a crucial component in the venting system. It covers the external end of the duct on your roof, allowing air to exit while preventing water, debris, birds, and insects from entering.
Choose a vent cap specifically designed for kitchen exhaust systems, typically made of galvanised or stainless steel for weather resistance. It should include a backdraft damper to prevent outdoor air from flowing back into the duct. Make sure the cap matches the duct diameter for a snug fit and effective ventilation.
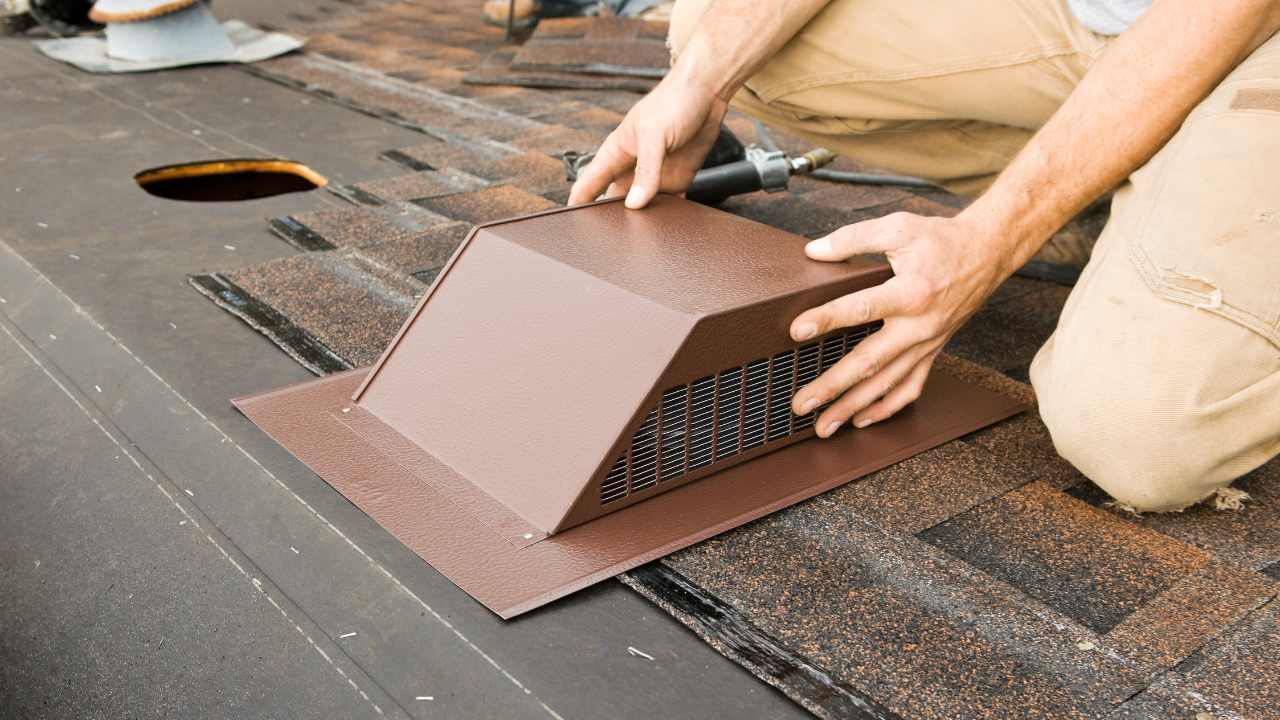
Install the Ductwork
Once you’ve planned the route and chosen a suitable vent cap, it’s time to install the ducting. Use rigid metal ducts instead of flexible ones, as they offer better airflow and are easier to clean.
Begin by cutting a hole in the ceiling and roof deck to match the duct size, then connect the duct from the range hood up to the roof exit point. All joints should be sealed with high-quality aluminium foil tape, not duct tape, to ensure a secure and air-tight seal. Use clamps or brackets to support the duct and avoid sagging or vibration.
Maintain Roof Vent for Optimal Performance
After installation, ongoing maintenance is essential for keeping your range hood system working at its best. Regularly inspect the vent cap for blockages caused by leaves, snow, or bird nests. Clean the interior of the duct periodically to remove built-up grease and dust that can reduce airflow and pose a fire hazard.
Additionally, check seals and fasteners annually to ensure the system remains weatherproof and intact. A well-maintained vent not only improves kitchen air quality but also extends the life of your range hood and ducting system.
What Are Common Mistakes to Avoid During Installation?
Improper installation can reduce your range hood’s performance, cause moisture damage, or even pose safety risks. Here are some common mistakes to avoid when venting a range hood through the roof.
Using the Wrong Duct Size
One of the most common errors is using a duct that’s too small for the range hood. A duct that’s narrower than recommended restricts airflow, causing the hood to work harder while delivering poor results. Always refer to the manufacturer’s specifications to select the correct duct diameter. Undersized ducts can also lead to excess noise and shortened fan lifespan.
Excessive Duct Length and Bends
Long duct runs and multiple sharp turns reduce the effectiveness of the ventilation system. Each bend creates resistance, making it harder for air to travel through the duct. Whenever possible, choose the most direct route from the range hood to the roof and keep bends to a minimum. If elbows are necessary, use gradual turns rather than tight angles to maintain proper airflow.
Poor Sealing of Joints
Air leaks in the duct system are often overlooked but can significantly compromise performance. Using the wrong sealing material or failing to secure joints properly allows air to escape into ceilings or attic spaces. This not only reduces ventilation efficiency but also risks condensation and mould. Always use foil tape to seal joints, not standard duct tape, and ensure all connections are tightly fitted and secured.
Skipping Roof Weatherproofing
Failing to properly seal the roof where the vent cap exits is a critical mistake. Gaps or improper flashing around the roof vent can lead to leaks, water damage, and long-term structural issues. Use a vent cap with integrated flashing or install separate flashing and apply roofing sealant generously around the edges.
Conclusion
Venting a range hood through the roof is one of the most effective ways to maintain clean, healthy air in your kitchen. From evaluating the right location and choosing the correct vent cap to installing rigid ductwork and avoiding common mistakes, each step plays a vital role in ensuring proper ventilation.
Our experienced team ensures your roof vent is installed safely, securely, and in full compliance with Irish building standards. Contact HP Roofing today for expert advice and reliable roofing solutions customised to your home.