Skip to content

Do you want to know how to tile a roof with concrete tiles? If you are planning to install a new roof or replace an old one, you might be wondering what the advantages of concrete tiles are and how to install them properly. Concrete tiles are one of the most popular roofing materials in Ireland, as they offer durability, versatility, and aesthetic appeal. However, tiling a roof with concrete tiles is not a simple task. It requires careful planning, preparation, and execution.
This blog post will guide you through the steps of how to tile a roof with concrete tiles, from choosing the right tiles and tools to laying and fixing them. By the end of this blog post, you will have a clear understanding of how to tile a roof with concrete tiles.
Why Choose Concrete Tiles for Your Roof?
Before we dive into the details of how to tile a roof with concrete tiles, let’s first explore why concrete tiles are a good choice for your roof. Concrete tiles are made from a mixture of sand, cement, and water, which is moulded into various shapes and colours. They are then cured and dried to form hard and durable tiles that can withstand harsh weather conditions and fire.
Some of the advantages of concrete tiles are:
Longevity
Concrete tiles can last for 50 years or more, depending on the quality and maintenance. They are resistant to rot, insects, or mould and can endure high winds, hail, and snow. They also have a low water absorption rate, which prevents cracking and freezing.
Versatility
Concrete tiles come in a wide range of sizes, shapes, colours, and finishes, which can suit any architectural style and personal preference. You can choose from flat, curved, interlocking, or profiled tiles, and from natural, painted, or glazed finishes. You can also mix and match different tiles to create unique patterns and designs.
Aesthetic appeal
Concrete tiles can enhance the appearance and value of your home, as they offer a natural and elegant look. They can mimic the look of other roofing materials, such as slate, clay, or wood, but at a lower cost and with less maintenance. They can also blend well with the surrounding environment and landscape.
Energy efficiency
Concrete tiles can help you save energy and money, as they have a high thermal mass, which means they can store heat and release it slowly. This can keep your home cooler in the summer and warmer in the winter, reducing the need for heating and cooling systems. They also reflect sunlight and reduce heat transfer, which can lower your carbon footprint and environmental impact.
How to Tile a Roof With Concrete Tiles: A Step-by-Step Guide
Tiling a roof with concrete tiles is a complex yet rewarding process, offering a blend of durability, versatility, and aesthetic appeal. These step-by-step methods to tile a roof using concrete tiles ensure a visually appealing roofing solution. Whether you're installing a new roof or replacing an old one, understanding these steps is important for a successful project.
Step 1: Selecting the Right Tiles and Tools
The first step involves choosing the appropriate concrete tiles for your roof. Factors to consider include size, shape, colour, and finish, ensuring they align with your architectural style and personal preferences. Additionally, gather the necessary tools and equipment, such as ladders, safety equipment, wooden strips used for spacing tiles, nails, and a hammer, to facilitate a smooth installation process.
Step 2: Preparing the Roof Surface
Before laying the tiles, prepare the roof surface. This involves cleaning the roof base, ensuring it's free from dirt and broken materials. Install the waterproof layer that protects against moisture and set up the wooden strips used for spacing tiles, which provide a guide for tile placement. Additionally, check for any structural issues or repairs needed on the roof base to ensure a stable foundation for the tiles.
Step 3: Laying the Tiles
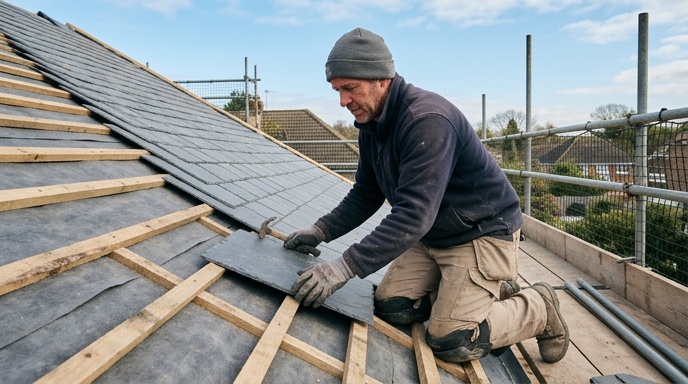
Start laying the tiles from the bottom of the roof, working your way up. Overlap the tiles correctly to prevent water from getting inside, and use nails to secure them in place. Pay attention to the alignment and spacing of the tiles to achieve a uniform appearance. Ensure that each row of tiles is straight and level, as this will affect the overall look and functionality of the roof.
Step 4: Fixing and Finishing
Once all the tiles are laid, inspect the roof to ensure everything is correctly fixed. Apply any necessary finishing touches, such as ridge tiles or sealants. This step ensures the roof is watertight and aesthetically pleasing. Additionally, trim any overhanging tiles at the edges and corners of the roof for a clean, finished look.
Step 5: Regular Maintenance
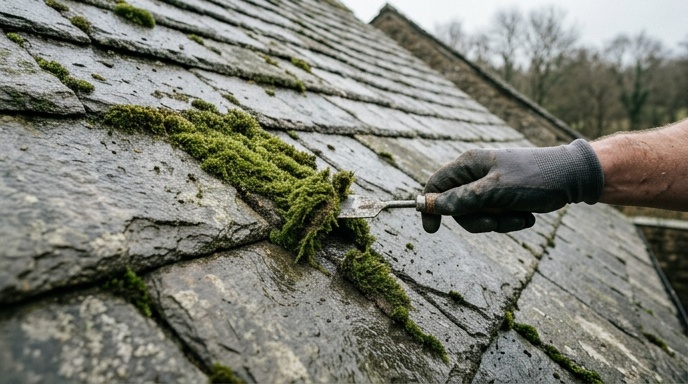
After installation, regular maintenance is key to prolonging the lifespan of your concrete tile roof. Inspect the roof periodically for any signs of damage or wear, and perform necessary repairs promptly. Clean the roof regularly to remove any buildup of leaves, dirt, or broken material, which can affect the roof's drainage and overall condition.
Conclusion
To sum up, tiling a roof with concrete tiles is a detailed and rewarding process that enhances the longevity, versatility, and aesthetic value of your home. Each step, from selecting the right materials to regular maintenance, is important for a durable and appealing roof. Concrete tiles not only offer a practical roofing solution but also contribute to energy efficiency and architectural beauty. This guide aims to equip you with the knowledge and confidence needed to undertake your roofing project. Remember, while DIY can be fulfilling, professional guidance ensures precision and safety.
For expert roofing solutions, consider HP Roofing. We provide quality materials, skilled experts, and a commitment to excellence. Contact HP Roofing today to transform your roofing vision into reality.